Hey, it’s DIY time again!
And this time, it’s an invitation card.
Though, you can always fetch a professionally made card from the stores (online also), but, the charm of making an invitation card in your own hand is different. After all, an invitation card loaded with all your feelings and emotion is super wonderful. So, let’s just waste no more time and check out the steps to make a splendid invitation card all by yourself.
Step 1 – Collecting Materials
Before everything, visit the art supply store to get the things you will need to make the card. The shopping list must include color papers, color pencils, glue sticks, scissors, stencils stamp, stickers, glitters, and of course some large colorful envelopes.
Step 2 – Work with Papers
Fetch a piece of construction paper and fold it vertically. It will look aptly like a book when it’s closed. Use a light color paper for this, because the invitation message will be written on this paper. To add some zing to your homemade invitation card, use a different color every time you write the message.
Step 3 – Write the Message
It’s time to write the invitation message. For this, choose a bright colored ( a color that is a perfect contrast to the color of the construction paper) marker pen. Now write a beautiful message and let your guests know about all the little secrets that you want them to know. Be creative as much as possible with the message, but give all the relevant details ( time, venue, and the map of your location) to your guests, so that they don’t need to take any pains to reach your party. The best part about writing a card in your own hand is that you can customize each invitation depending on your relationship with the person. And finally, make sure that your handwriting is pretty enough.
Step 4 – Flare it Up with Additional Stuff
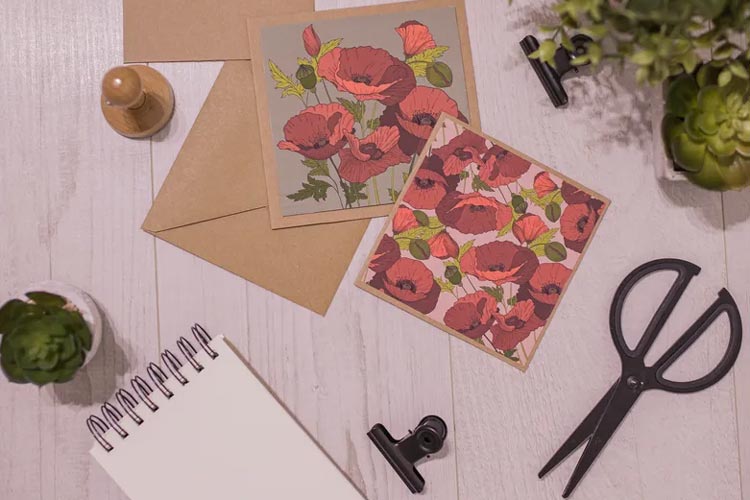
Your invitation is already looking great for sure, but what if you add up some extra glare to it? It will be awesome right? So, use the rest of the color papers ( you can fetch some ribbons too), cut designs (shapes like a small flower, heart and so on), and add glitters to these designs to add some zing to it.
And that’s it! A superb beautiful card is ready and all you need to do is to put it inside the envelope and send it. Oh Yes! Don’t forget to add some glitter to the envelope too.